

Customizing the Creation Wizard - Results
Problem
You are not satisfied with the default PPP customizing and would like to change the Creation Wizard Results.
Prerequisites
A new BRF+ application according to Creation of Customer BRF+ Application has been created and a Field has been added to the Basic Field Config according to Customizing Fields - Basic Field Config. Additionally, a creation process has been customized through graphical (see Customizing the Creation Wizard - Graphics) and / or form based steps (see Customizing the Creation Wizard - Forms).
Environment
PPP BRF+ Customizing
Solution
Disclaimer: Result Sets are predefined values, which will be filled into the according fields, when a Step (Customized via Customizing the Creation Wizard - Forms or Customizing the Creation Wizard - Graphics) have a Result ID customized. If only one value is available in a set, the value is written directly into the given field. If multiple values are customized, a list will be shown in the PPP Creation Wizard to choose from.
Option 1: Datasets
Open your BRF+ Application and navigate to the expression table “Creation Result Datasets” (Technical Name: CREATION_RESULT_DATASETS).
-
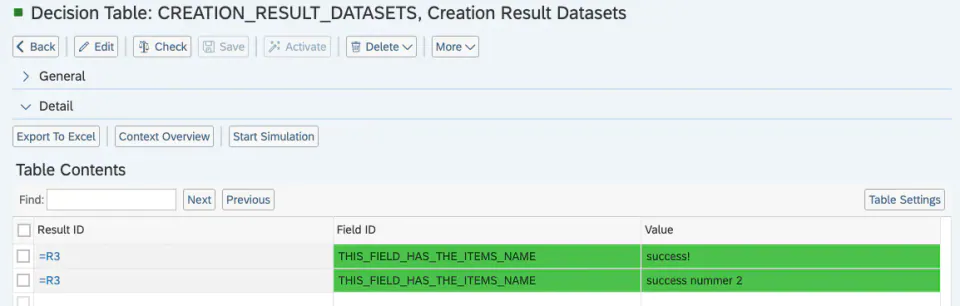
Result ID: Enter any ID for your Result.
-
Field ID: Enter the Field ID of the Field you want to be filled with the selected value. This Field ID has to exist in the “Basic Field Config” (Technical Name: BASIC_FIELDCONFIGURATION) expression table.
-
Value: Enter any Value you want to be filled into the Field with the given Field_ID.
Disclaimer: If different fields are customized for the same Result ID, multiple selection lists will be shown.
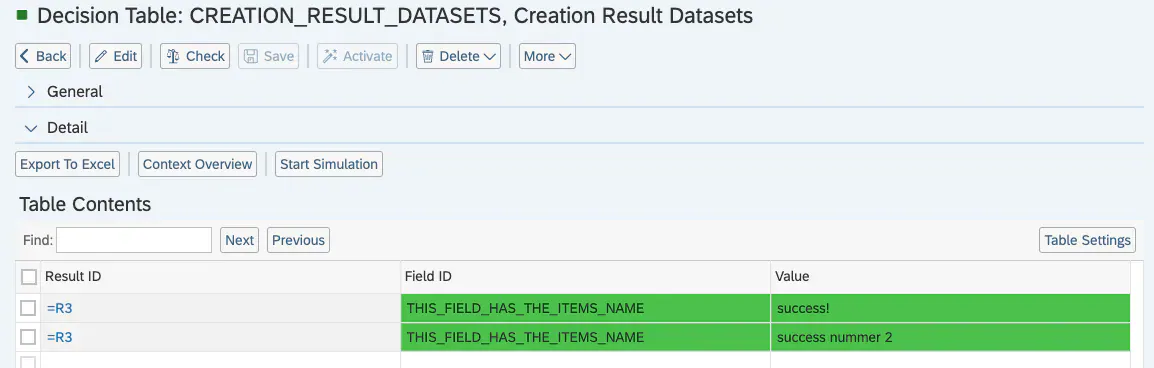
Example of a dataset with an option to choose between two different values for one field:
Option 2: Buckets
Open your BRF+ Application and navigate to the expression table “Creation Result Buckets” (Technical Name: CREATION_RESULT_BUCKETS).
-
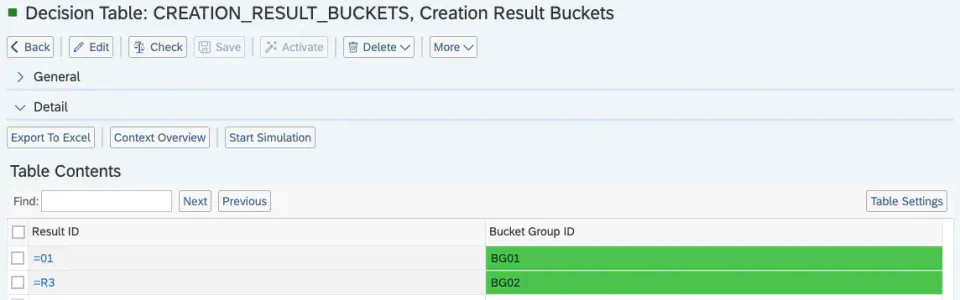
Result ID: Enter any ID for your Result.
-
Bucket Group ID: Enter any Bucket Group ID. This Bucket Group ID has to exist in the “Bucket Group” (Technical Name: BUCKET_GROUP) expression table.
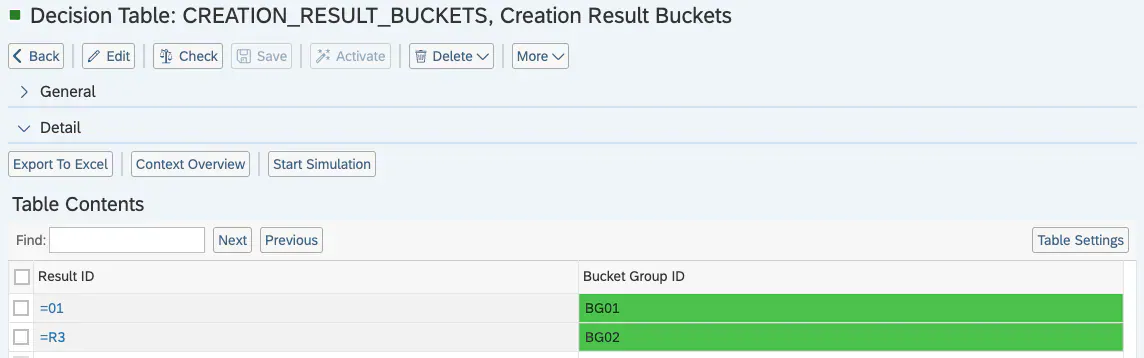
Example for the link between Result ID and Bucket Groups:
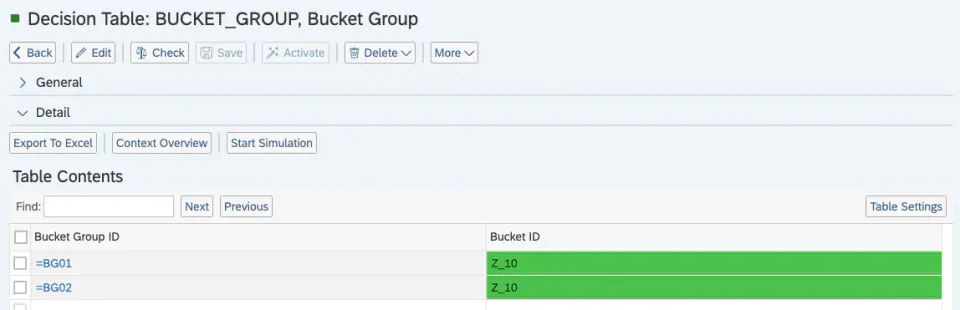
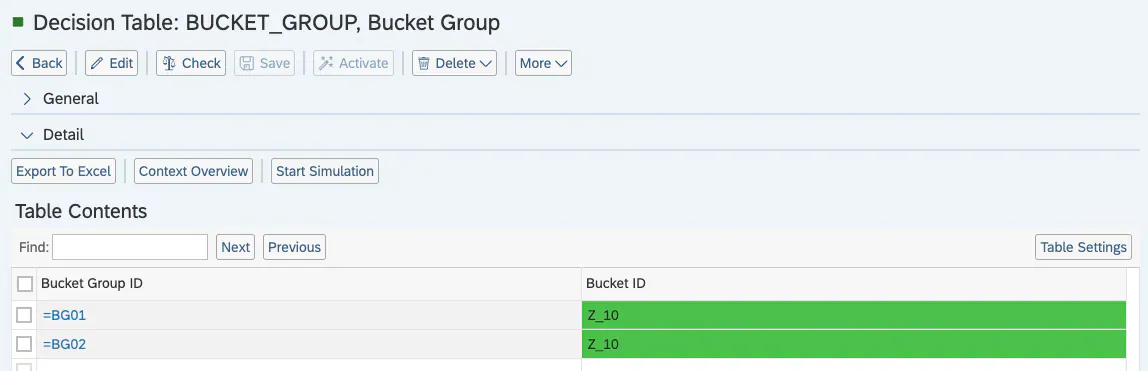
Now navigate to the expression table “Bucket Group” (Technical Name: BUCKET_GROUP).
-
Bucket Group ID: Enter any ID for your Bucket Group.
-
Bucket ID: Enter any Bucket ID from the standard PPM Customizing.
Example of Bucket Groups with the same Bucket ID assigned:
Option 3: Item Types
Open your BRF+ Application and navigate to the expression table “Creation Result Item Types” (Technical Name: CREATION_RESULT_ITEM_TYPES).
-
Result ID: Enter any ID for your Result.
-
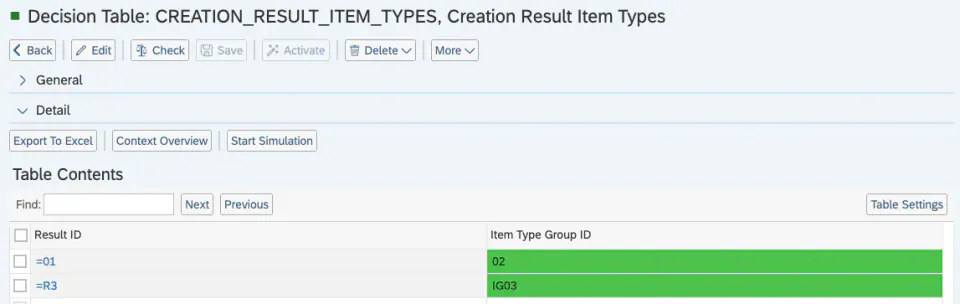
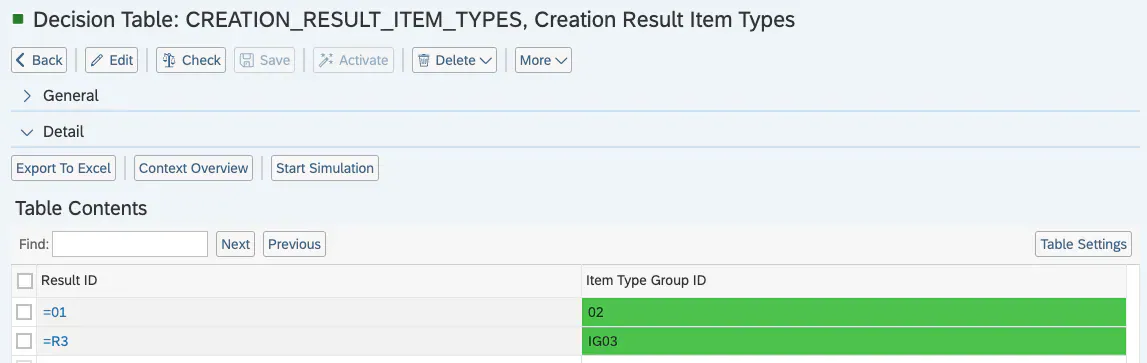
Item Type Group ID: Enter any Item Type Group ID. This Item Type Group ID has to exist in the “Item Type Group” (Technical Name: ITEM_TYPE_GROUP) expression table.
Example for the link between Result ID and Item Type Groups:
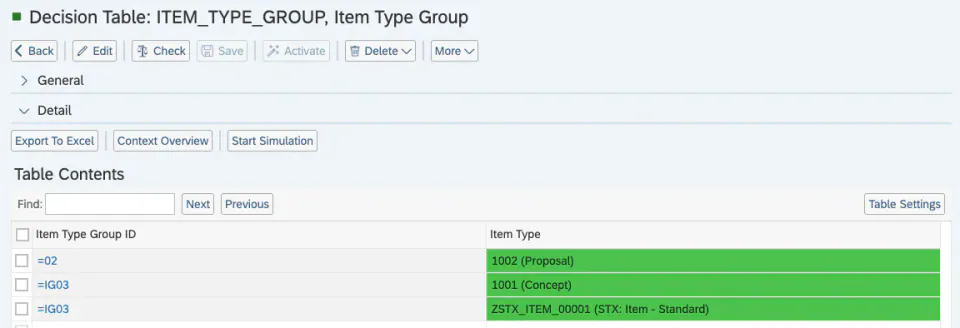
Now navigate to the expression table “Item Type Group” (Technical Name: ITEM_TYPE_GROUP).
-
Item Type Group ID: Enter any ID for your Item Type Group.
-
Item Type: Enter any Item Type from the standard PPM Customizing.
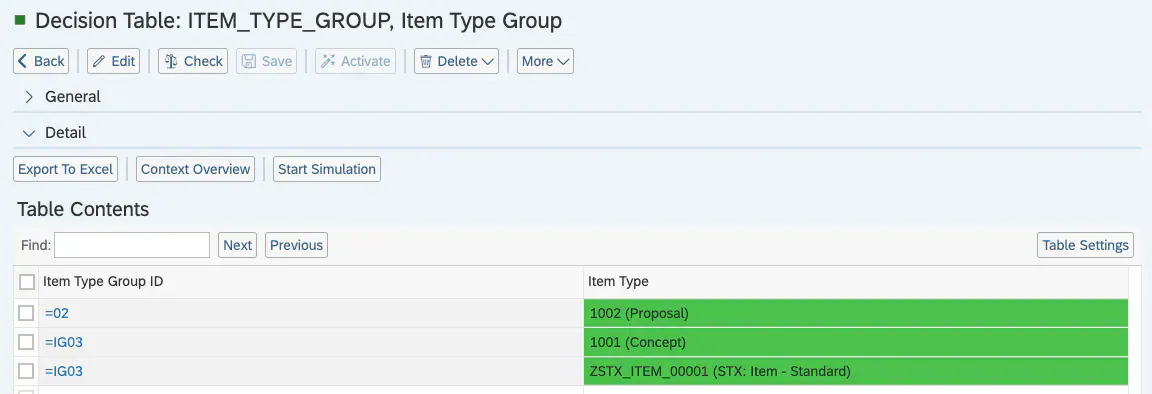
Example of Item Type Groups with the different Item Types assigned:
Option 4: Project Templates
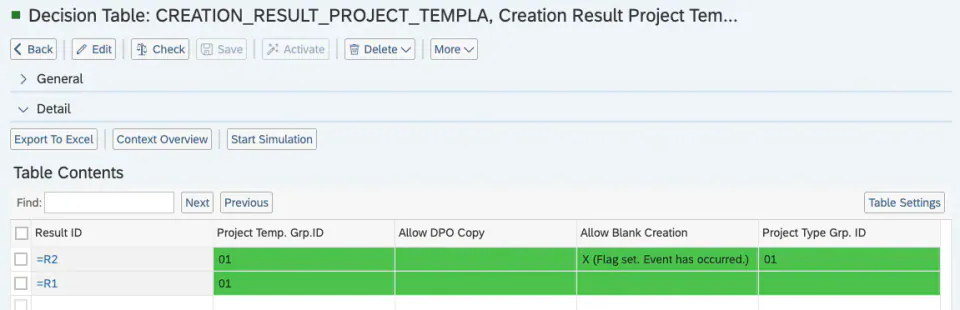
Open your BRF+ Application and navigate to the expression table “Creation Result Project Templates” (Technical Name: CREATION_RESULT_PROJECT_TEMPLA).
-
Result ID: Enter any ID for your Result.
-
Project Temp. Grp. ID: Enter any Project Temp. Grp. ID. This Project Temp. Grp. ID has to exist in the “Project Template Group” (Technical Name: PROJECT_TEMPLATE_GROUP) expression table.
-
Allow DPO Copy: Set this to true, if you want to enable to copy from an operating Project.
-
Allow Blank Creation: Set this to true, if you want to create a blank Project from the given Project Type without using a Template.
-
Project Type Grp. ID: Enter any Project type Grp. ID. This Project Type Grp. ID has to exist in the “Project Type Group” (Technical Name: PROJECT_TYPE_GROUP) expression table. If set, you will be able to choose between the different Project Types on Creation.
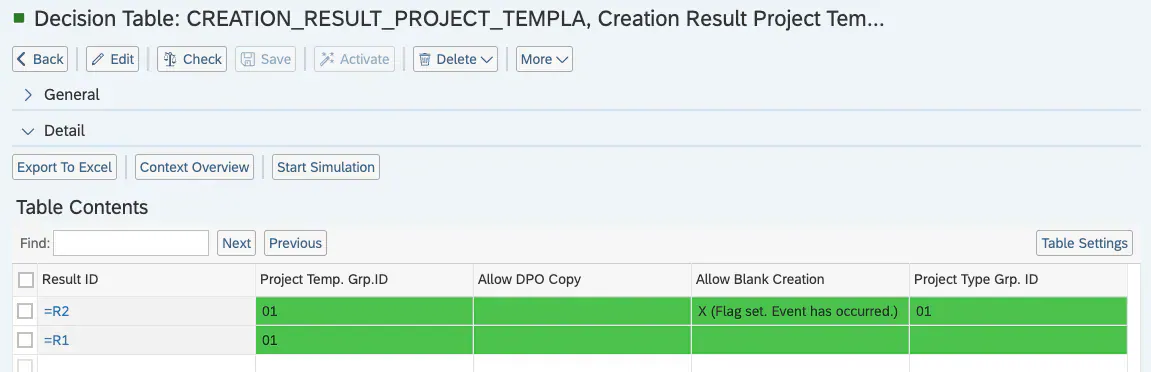
Example of two Results, one with Project Types and the other without:
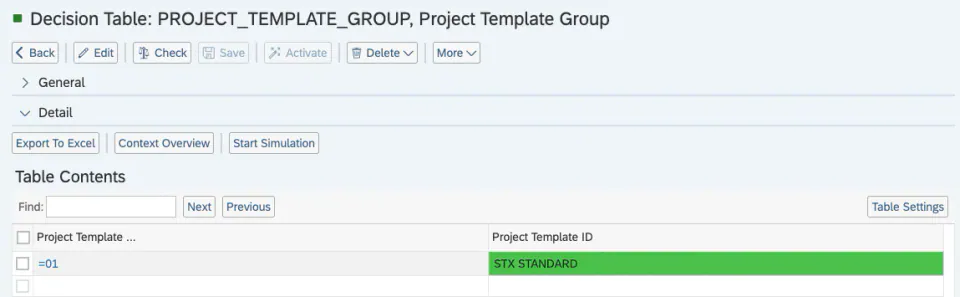
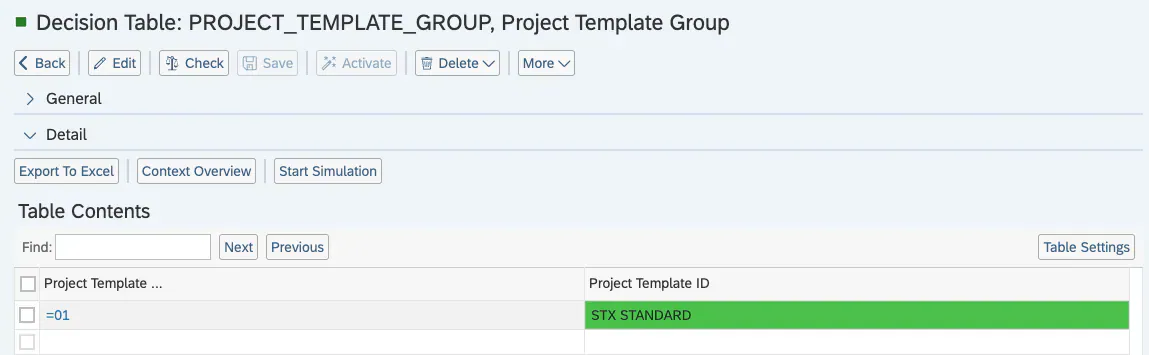
Now navigate to the expression table “Project Template Group” (Technical Name: PROJECT_TEMPLATE_GROUP).
-
Project Template Group ID: Enter any ID for your Project Template Group.
-
Project Template ID: Enter any Project Template from the standard PPM Customizing.
Example of one Project Template Group with a single Project Template from standard PPM Customizing:
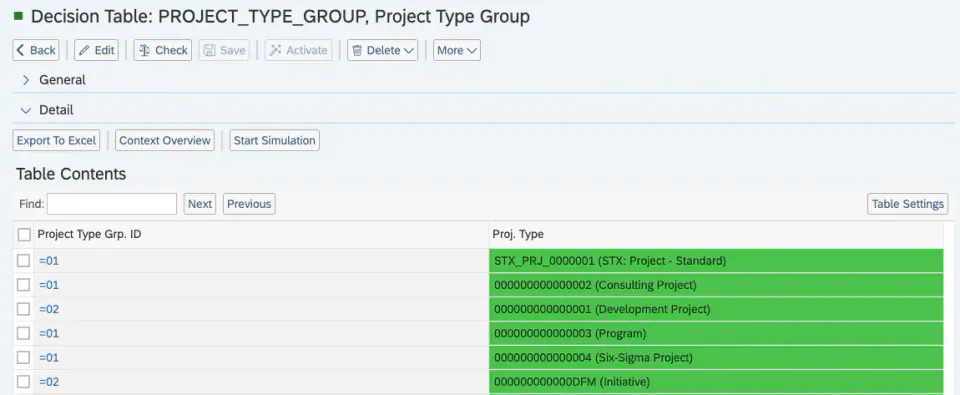
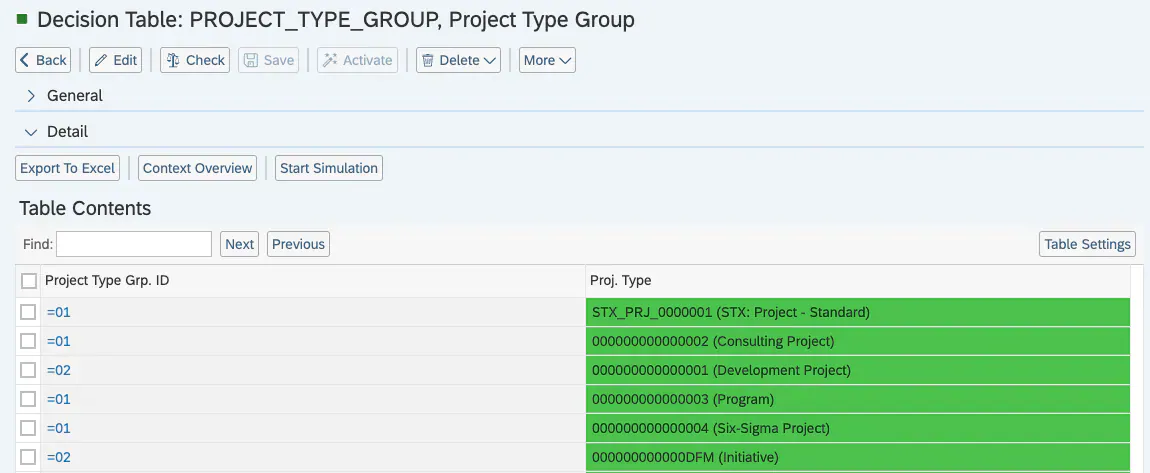
Now navigate to the expression table “Project Template Group” (Technical Name: PROJECT_TEMPLATE_GROUP).
-
Project Type Grp. ID: Enter any ID for your Project Type Group.
-
Proj. Type: Enter any Project Type from the standard PPM Customizing.
Example of Project Type Groups with a multiple Project Types from standard PPM Customizing:
See Also
Keywords
brf+, add, results, creation