

Import from Excel for Faster Data Entry
Manually entering data into BRF+ decision tables can be time-consuming. To speed up your workflow, you can import data from an Excel file instead of filling in each field manually.
- Open the desired Decision Table in BRF+ and switch to Edit Mode.
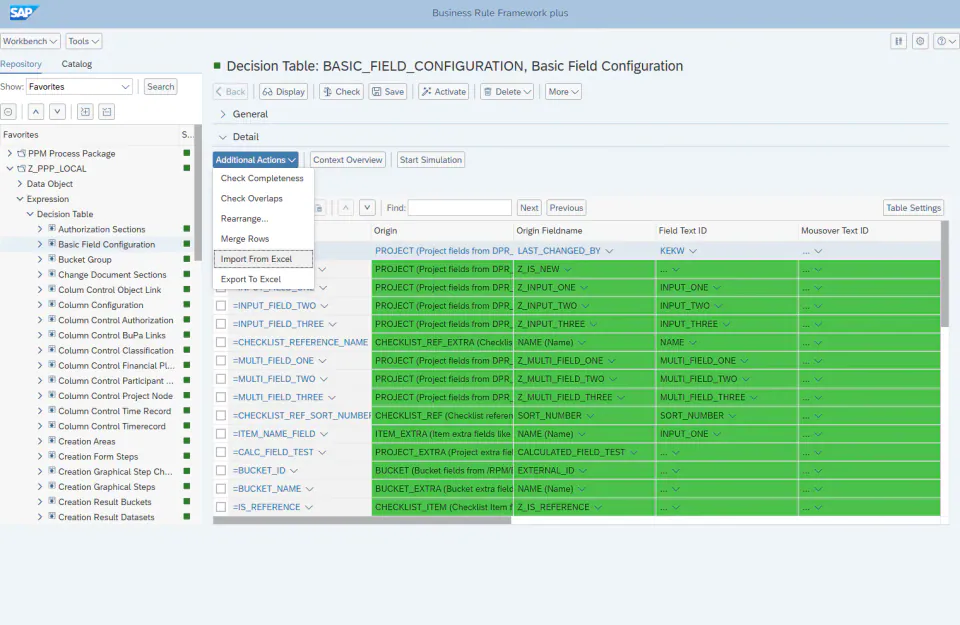
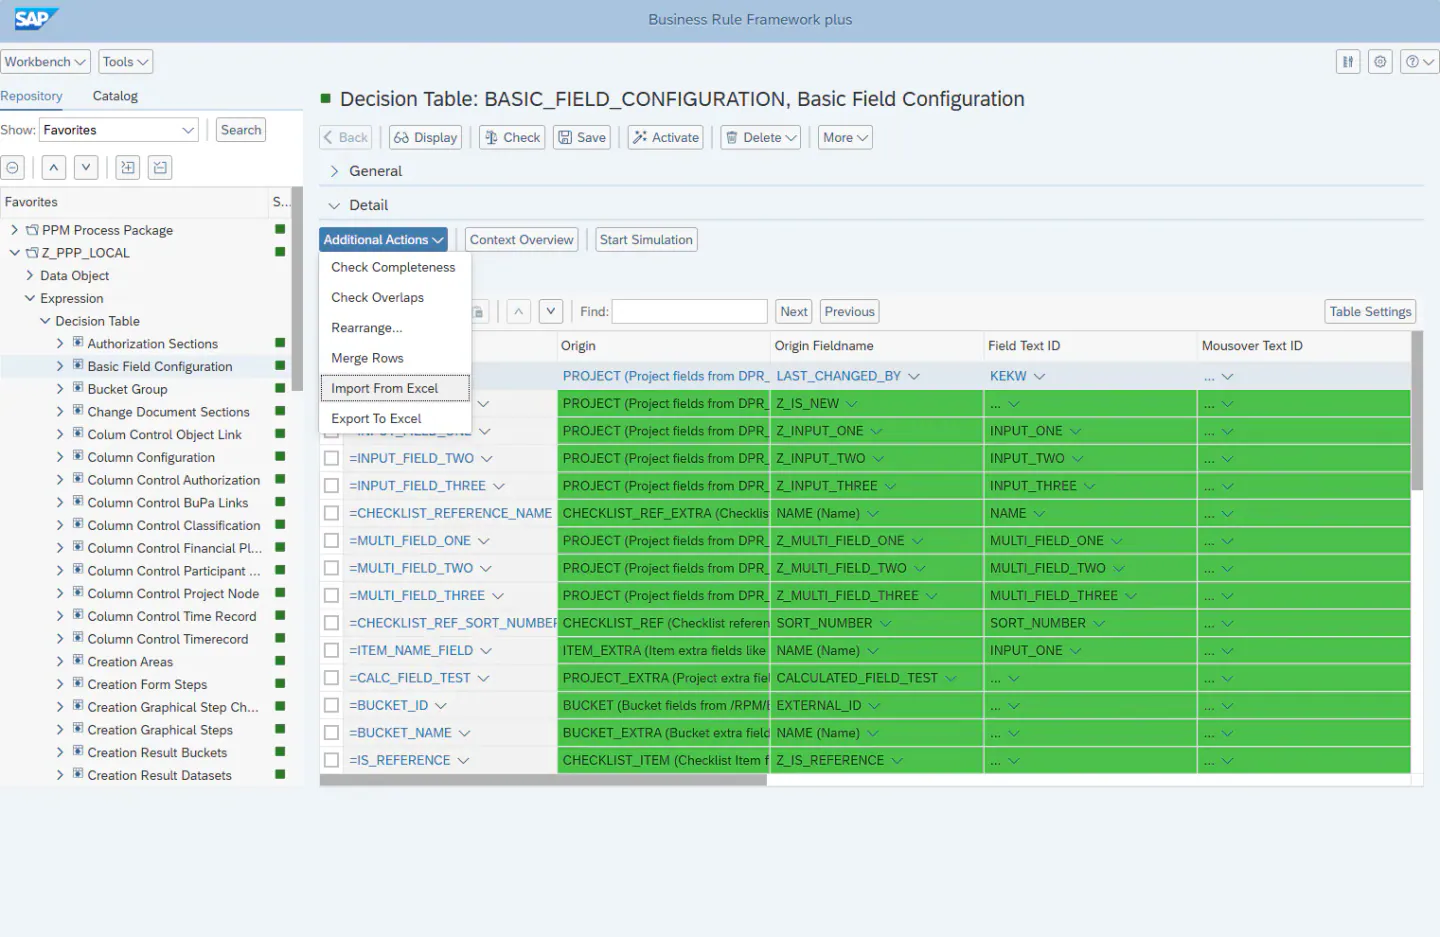
- Click on “Additional Actions” in the toolbar, then select “Export to Excel” from the dropdown menu.
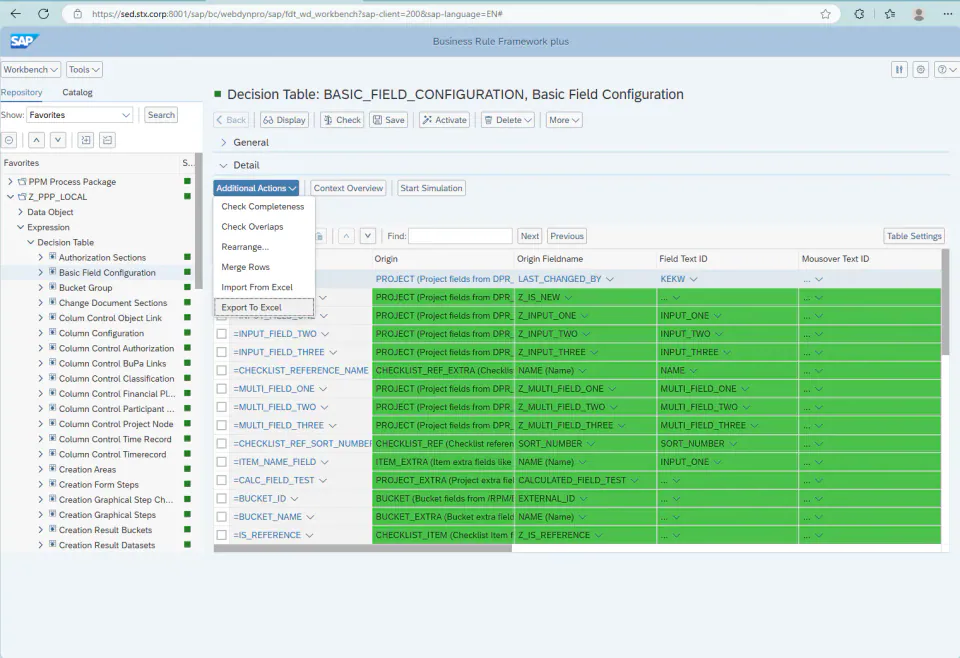
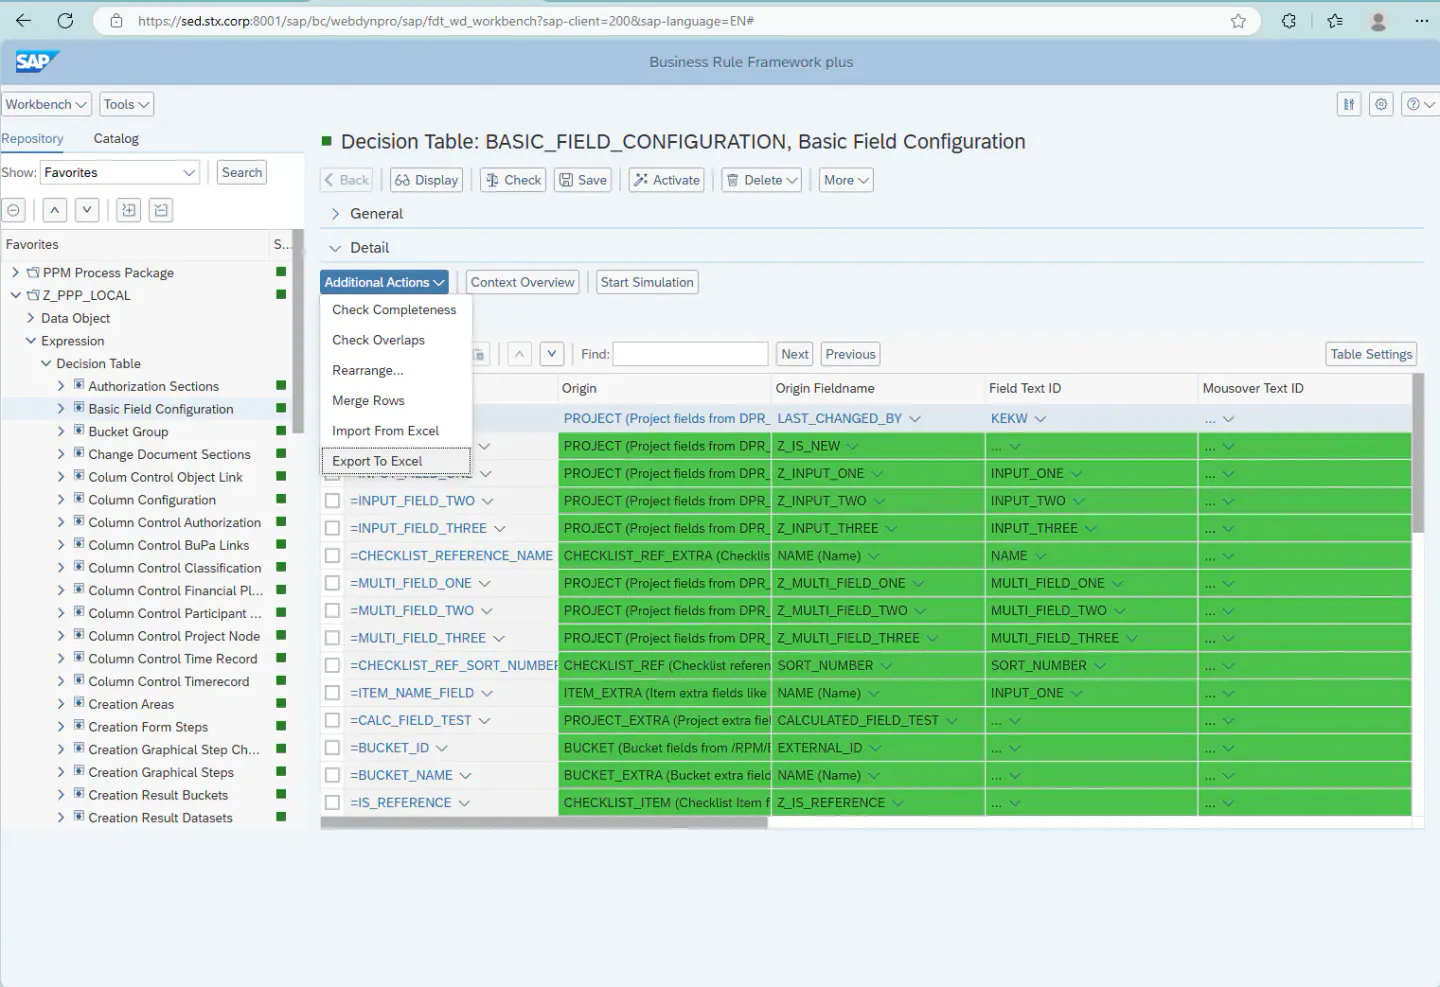
-
We strongly recommend saving the original Excel export before making any changes. Use this file as a backup in case you need to restore the original table.
-
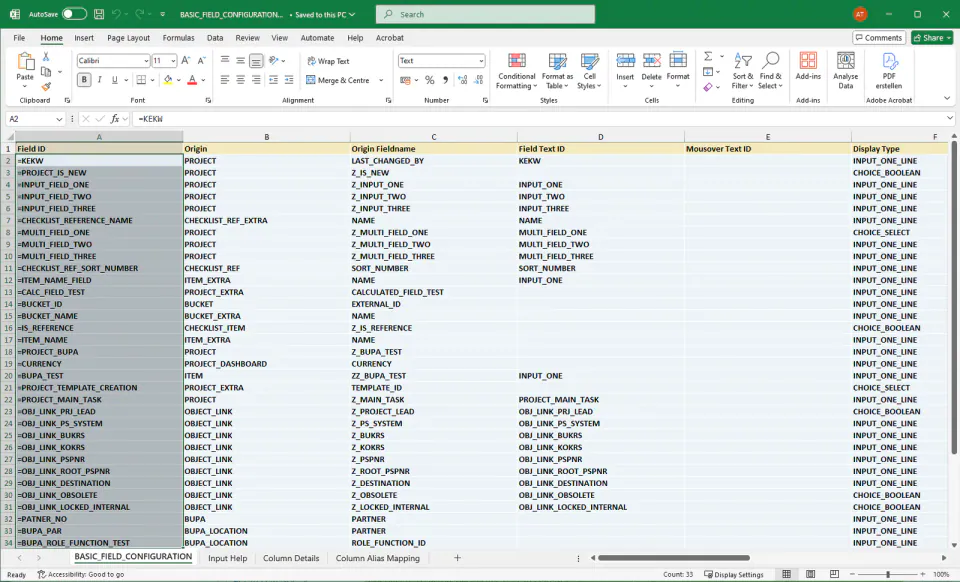
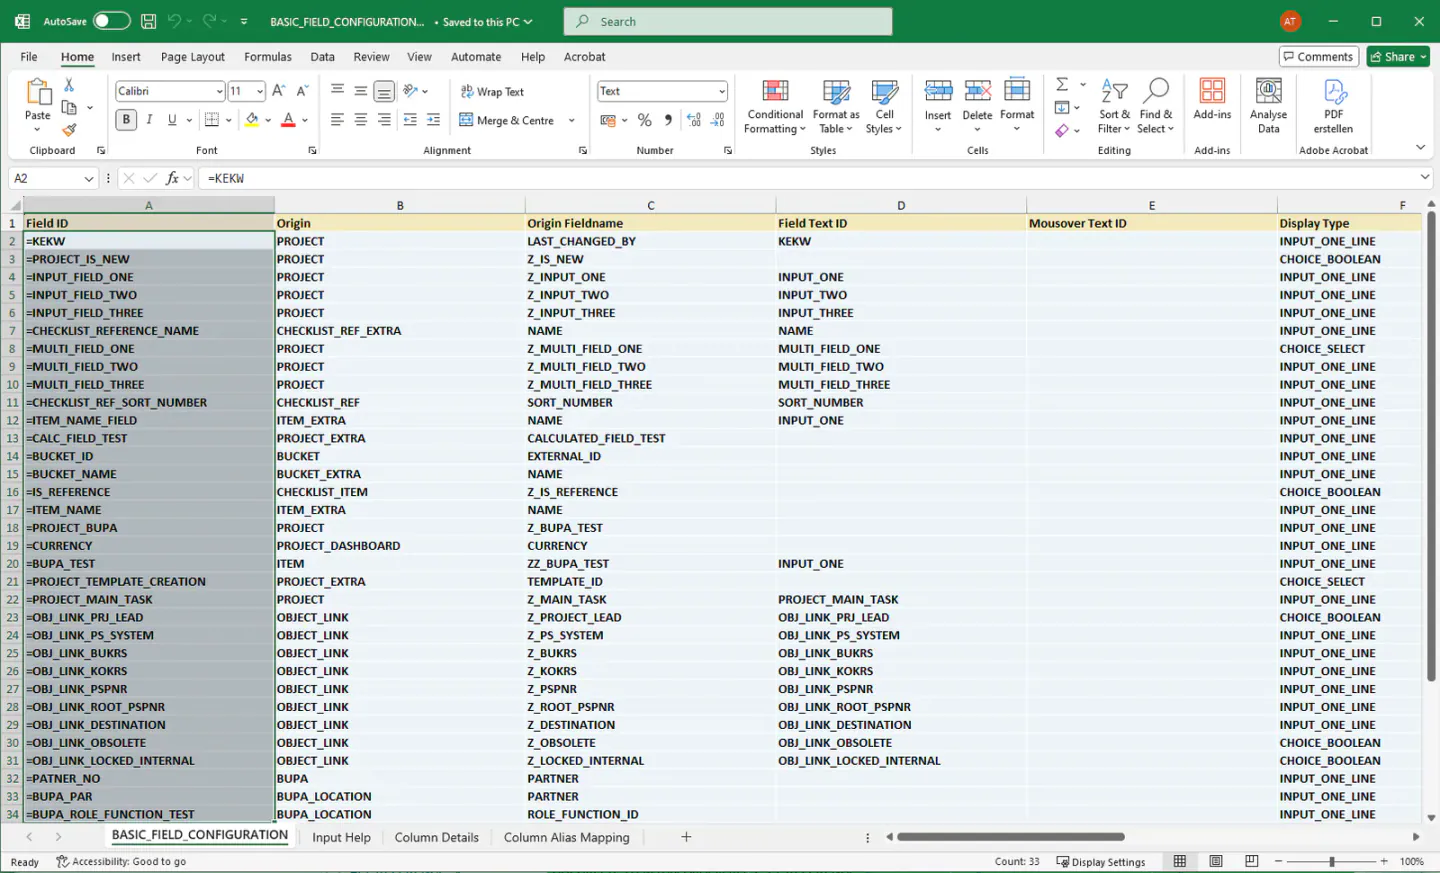
Edit the exported Excel file by adding your new entries. Make sure to:
- Preserve the original format.
- Do not modify the column headers — they must remain exactly as exported.
- Follow syntax rules (e.g., conditional columns often begin with an “=” sign).
- To upload your Excel table to BRF+ come back to the decision table and select ‘Import from Excel’ and choose your file.
Tips
- You can also export decision tables from the Standard Application in BRF+ to get familiar with standard field IDs, formats, and configurations.
- Ensure data integrity by checking column headers and formats carefully before importing.
Keywords
BRF+, Excel Import, Decision Table, Data Entry